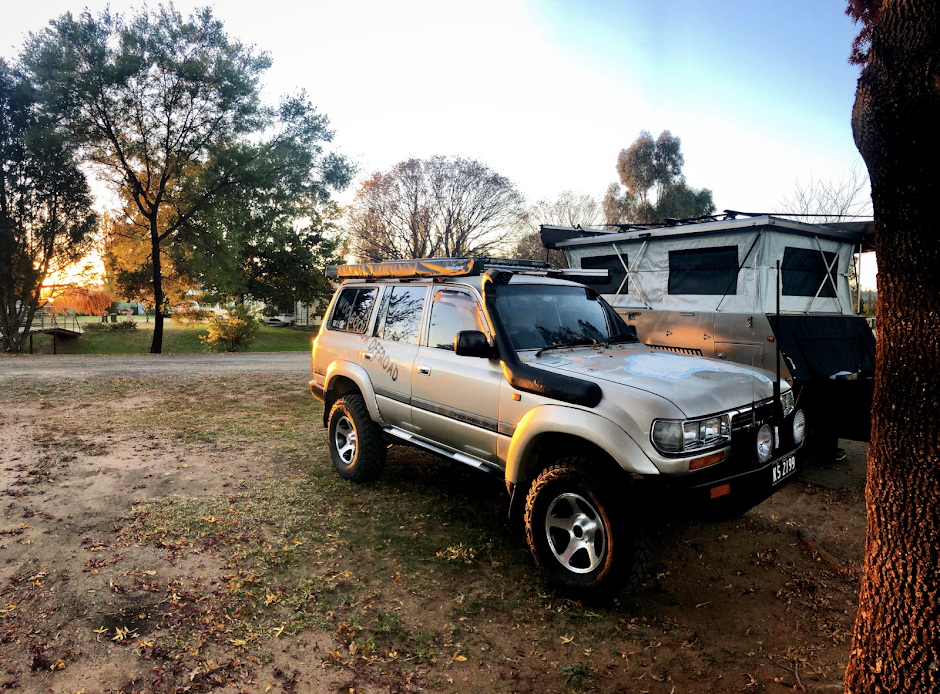
Rhino list the RRP for the Sunseeker II as $379, but if you shop around like we did you can pick them up for a bit cheaper.
Aug 12, 2014
GEAR REVIEW...rhino awning
Recently I have been asked to do several reviews on gear that I use. One of my favourite bits of gear is my Rhino Awning. We’ve all seen them hanging off the sides of most 4wds and I am a big fan of you get what you pay for, and this was definatly the case for our purchase of a Rhino Awning for our 4wd. Rhino, is an all Australian company that began back in 1992 making roof racks, and since then they have become world leaders in their field exporting to over 25 countries around the world. Rhino make a vast array of accessories and roof racks to to suit sports people, tradies and the outdoors enthusiast. Rhino do several different sizes but we opted for the Sunseeker II 2.5m awning which is the most popular in their range that suits most SUV’s and large 4wds.
We looked at cheaper versions comparing quality ( different variations in the canvas ), size ( they ranged from a small 2 metre through to large wrap around types ), warranty ( rhino gives you 12 months ), what’s in the box ( every individual part is available through their spare part department ) and even the different sale pitches.
What really sold us was that Rhino awnings have a host of features that we decided would suit our needs. We liked that the awning material itself is UV stabilised, has ripstop poly canvas which means it dries very quick and is waterproof, and comes with telescopic cam-lock aluminium poles- it just very quick and easy to set up. Also included are some very study pegs and hi-vis ropes which definatly do the job as required, none of those fiddly cheap pegs that bend at the sign of any pebble in the ground- every thing is there. Also straight out of the box is a fit kit to suit all Rhino racks. We looked at other brands and the fit kit this was an addition cost which seemed to defeat the purpose of buying a complete package.
Fitting it to our roof rack was as easy as bolting the fit kit to the back of the awning and then adjusting it to the width of our racks, sliding the kit into the rack then tightening up the 4 bolts supplied- it was that easy. The other great thing is that it can be mounted to either side of the vehicle, good for if you have a side mounted roof top tent that drops down the passenger side.
We have given the awning a caning the past 6 months, its done desert swag trips, local overnighters where its been setup beside the tent, meal stops with several chairs and tables can be setup, and even the toughness of the heavy duty PVC bag as it takes a belting from branches and vines when 4wding has proved to us that this is a quality item. Depending on how long your arms are, you can set it up solo, but it is easier with two people and generally take several minutes. There’s none of this, ‘you hold there while I do this’, its a matter of unzipping the PVC bag, rolling out the awning, extending the two arms and locking them in place drop the two legs down and peg it down if there is a breeze around. Simple and definatly easy. There are several options available for the awning which we haven’t gone for yet which include a zip on front wall and a fully enclosed mozzie net. What I don’t like about the awning ?…. well nothing yet !!.
Rhino list the RRP for the Sunseeker II as $379, but if you shop around like we did you can pick them up for a bit cheaper.
Rhino list the RRP for the Sunseeker II as $379, but if you shop around like we did you can pick them up for a bit cheaper.
Subscribe to:
Post Comments (Atom)

No comments:
Post a Comment